“Design and make a stool or ottoman with a box cushion, for the contract furnishings industry. Include surface manipulation.” – Furniture: Textile and Surface
How can a contract-grade stool be fun, interesting, and sophisticated?
For this project, early in my education at MCAD, I was tasked with designing a contract-grade stool or ottoman with a box cushion and surface manipulation. To make it more interesting, as well as provide myself with some constraints, I wanted to push the project to be fun, sophisticated, and to play with balance.
Design Criteria/Research
To establish design criteria, I had to compare against contract ottomans and stools in the market. I began benchmarking by collecting sample images from around the internet for reference.
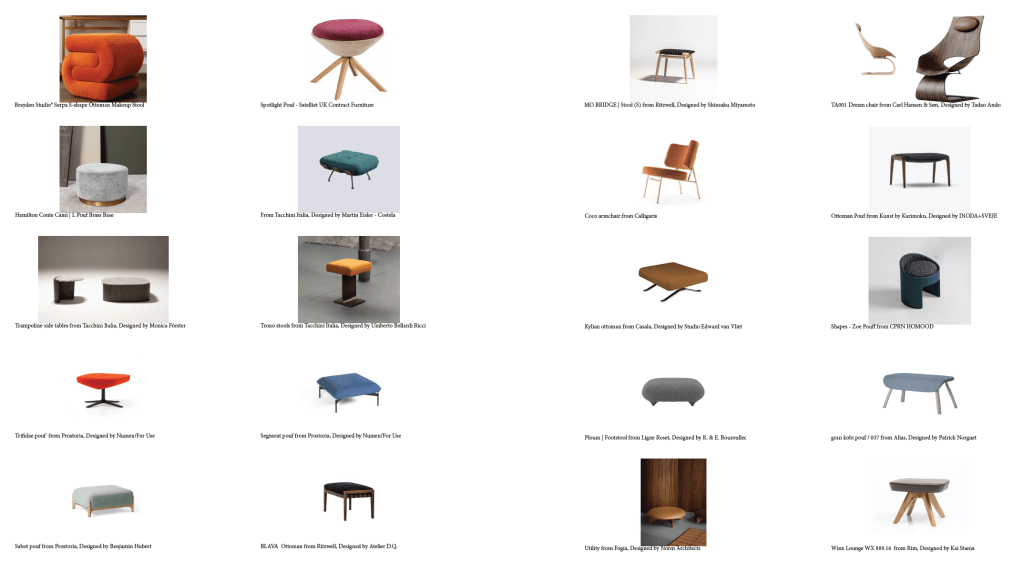
Contract work emphasises durability through quality construction and deliberate material selection. The benchmarking examples tend to feature wood, metal, and industrial fabrics designed for high-wear scenarios. Color can be all over the board, depending on the company. 18 inches is the standard height for ottomans and stools in this segment.
Ideation

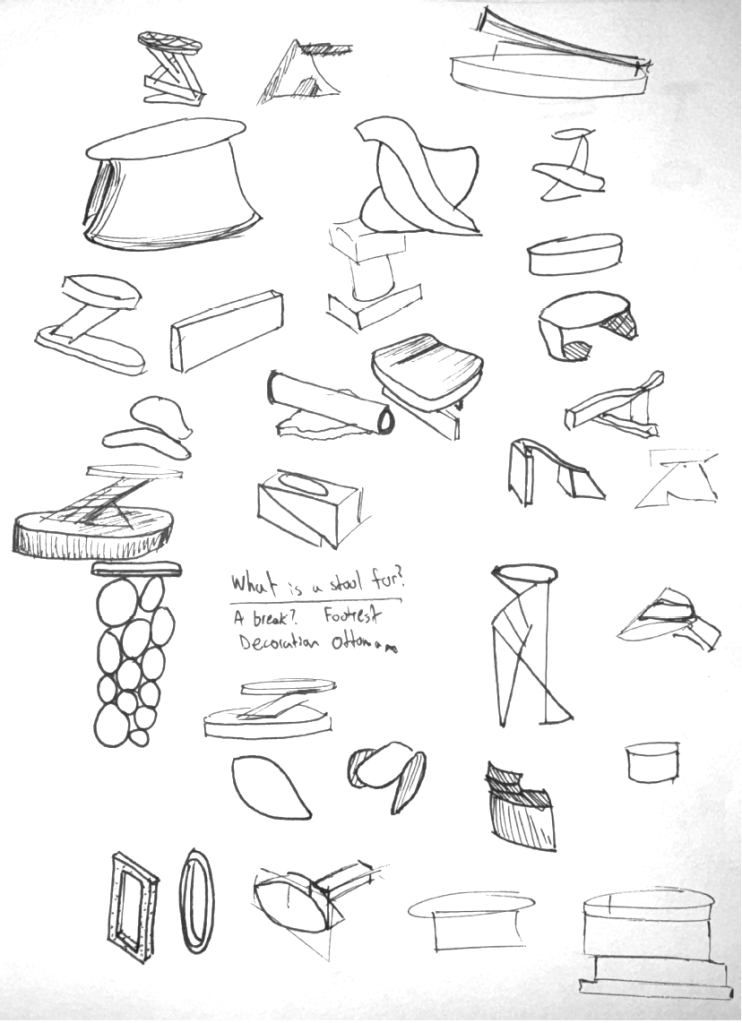
All of these concepts were created to be fun. A brain dump of twists, stacks, bends, and wireframes went to the page. Profiles and changing perspectives were emphasized. Something that was constantly changing while circling it was the ideal. At this stage, ideation was somewhere between sculpture and pure concept. It took a minute to develop something both interesting and sittable.
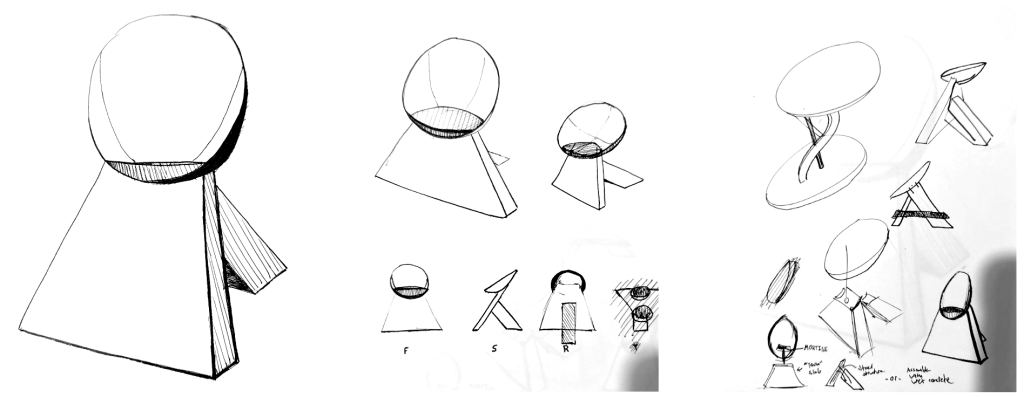
The first concepts selected to move forward, shown above, were chosen due to the weight of the proportions. The front wedge, paired with the back post, creates a kind of tripod that supports an upper bowl, which functions as a seat and backrest. I imagined the base to be made of concrete as a statement piece (this would cause problems).
Material Inspiration
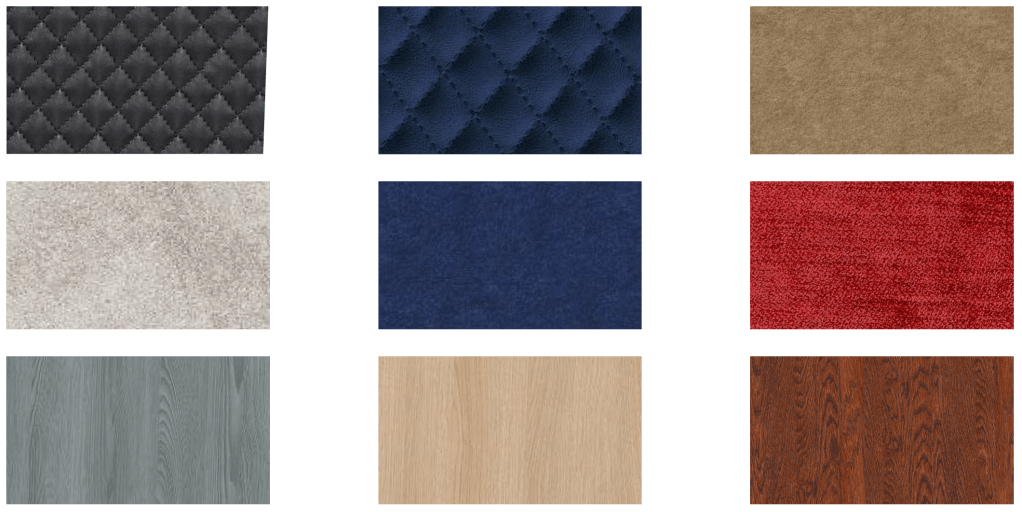
The above reference images were my envisioned materials for iterations of the first concept. Some wood, some vinyl, some canvas.

This selection of swatches has some more wood, but focuses on dyed, pebbled leather (for ease of cleaning).
First Renders
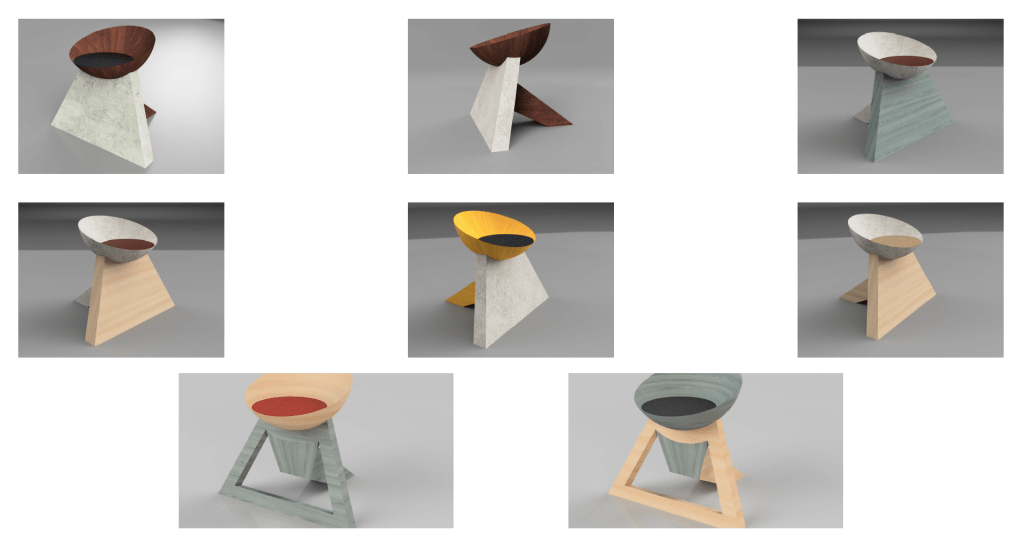
Besides liking the top-middle, this set of iterations essentially told me to move on from this concept. Aside from the aesthetic issues, conversations in class fleshed this out to the point of proving it impractical. The weight of the base would likely be prohibitive, as would the intended joinery between the seat and the base.
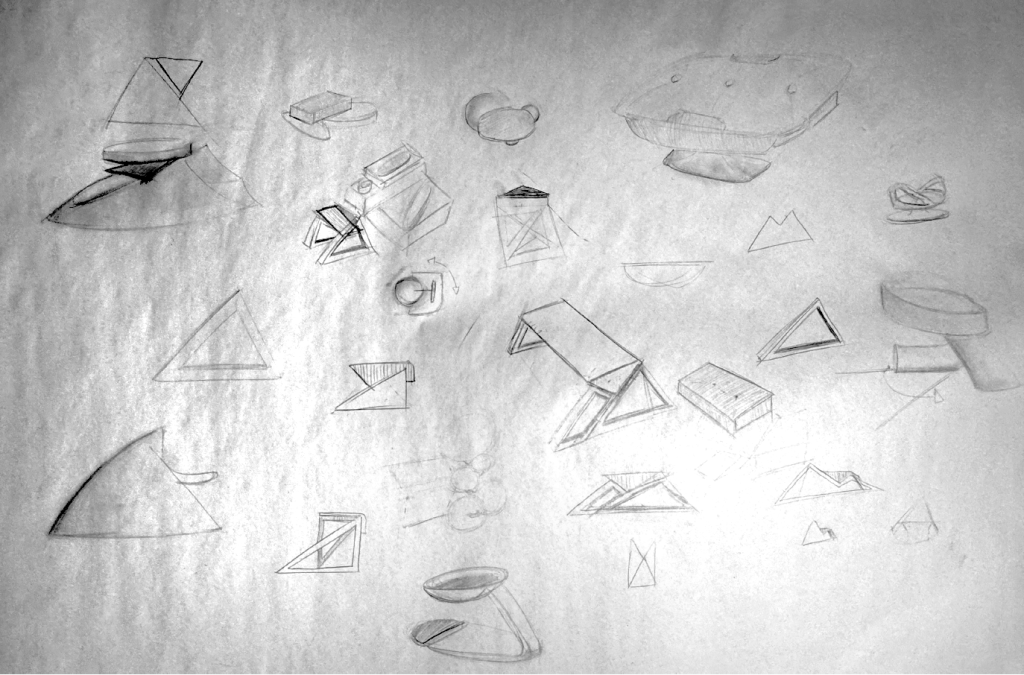
Another round of sketches led me to explore more triangular options. I eventually had a breakthrough and drew the concept in the middle of the above image. I started experimenting with ways to reverse the triangles until I found a pleasing combination.
Second Renders
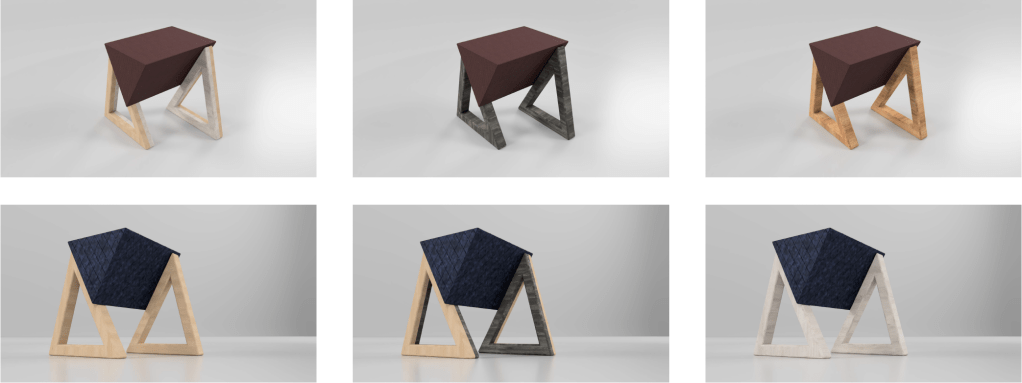
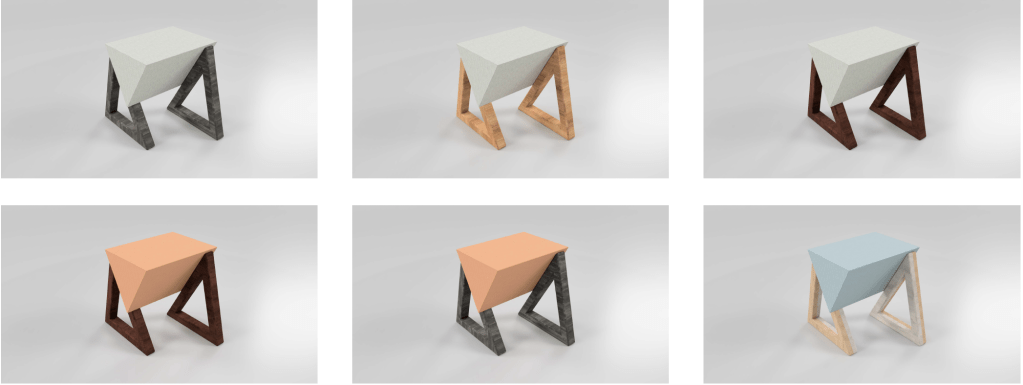
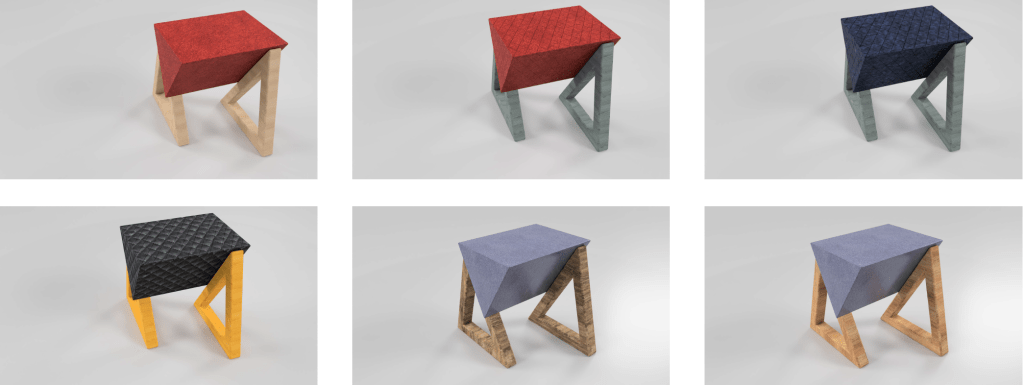
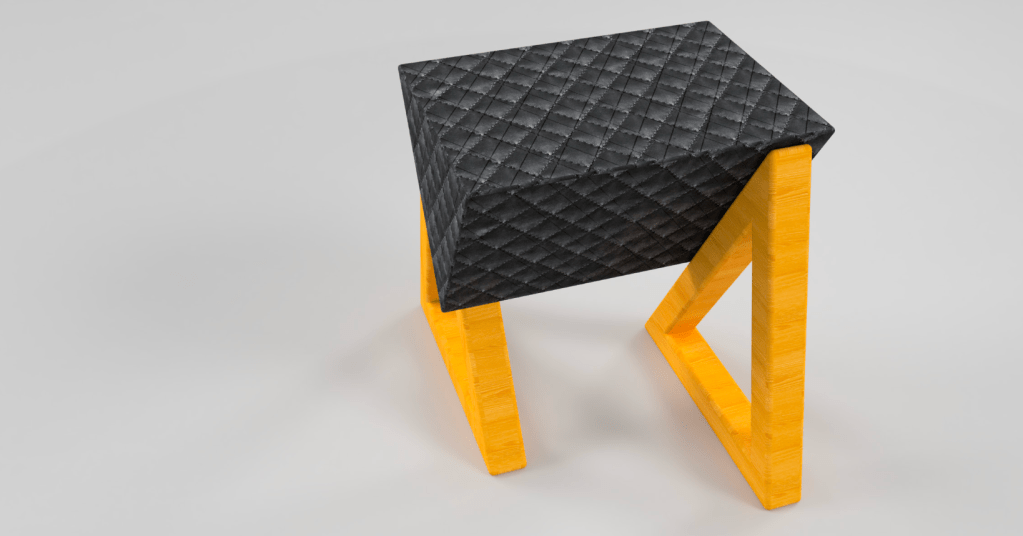
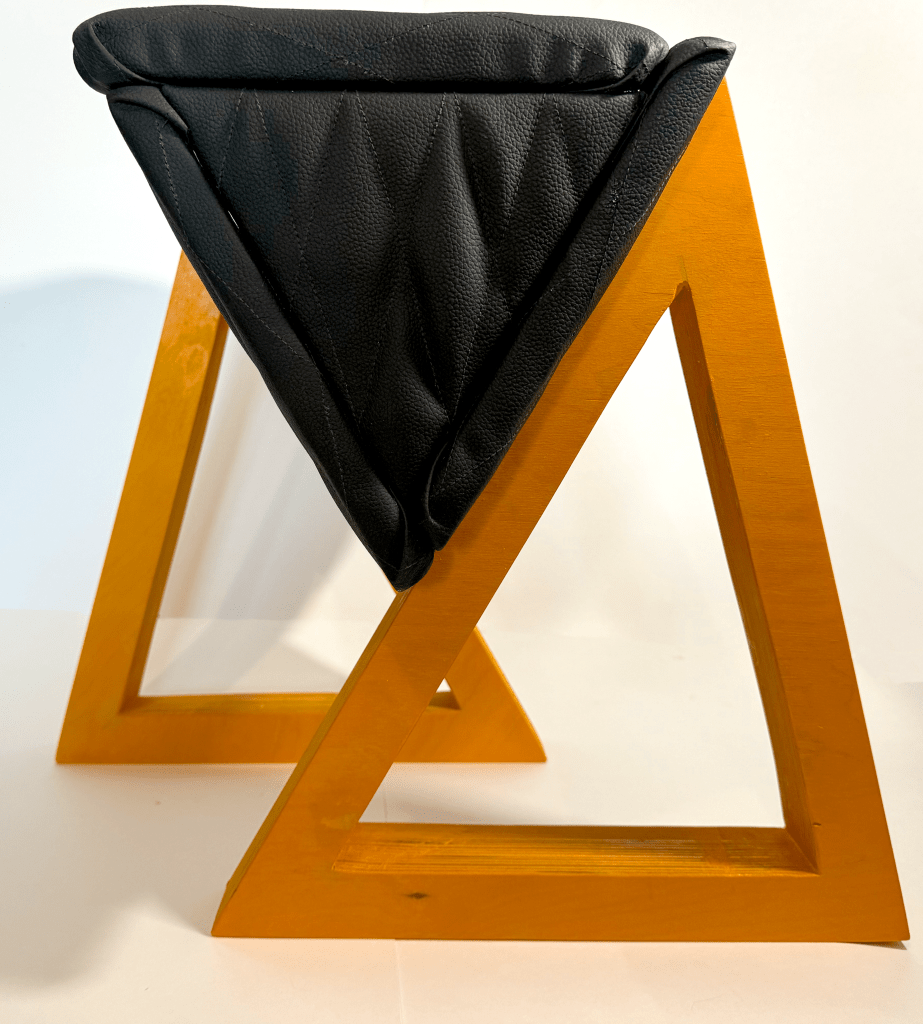
Above: A bunch of color and material iterations. I went with the orange-legged, diamond-quilted concept, based on peer feedback in class. The coloring and form language evoked construction associations, and juxtaposing that with a quilted, ornamented surface and rigid geometry created a solid story for the ottoman.
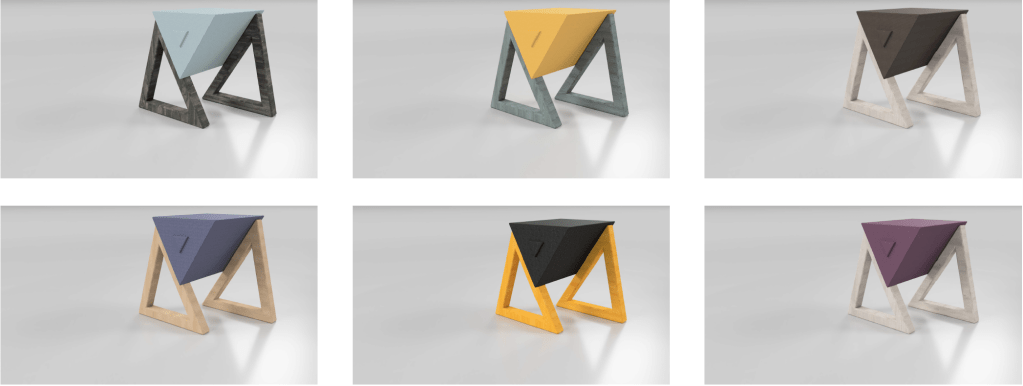
Below: Side shots showing triangle overlap and perspective change

Physical Prototyping
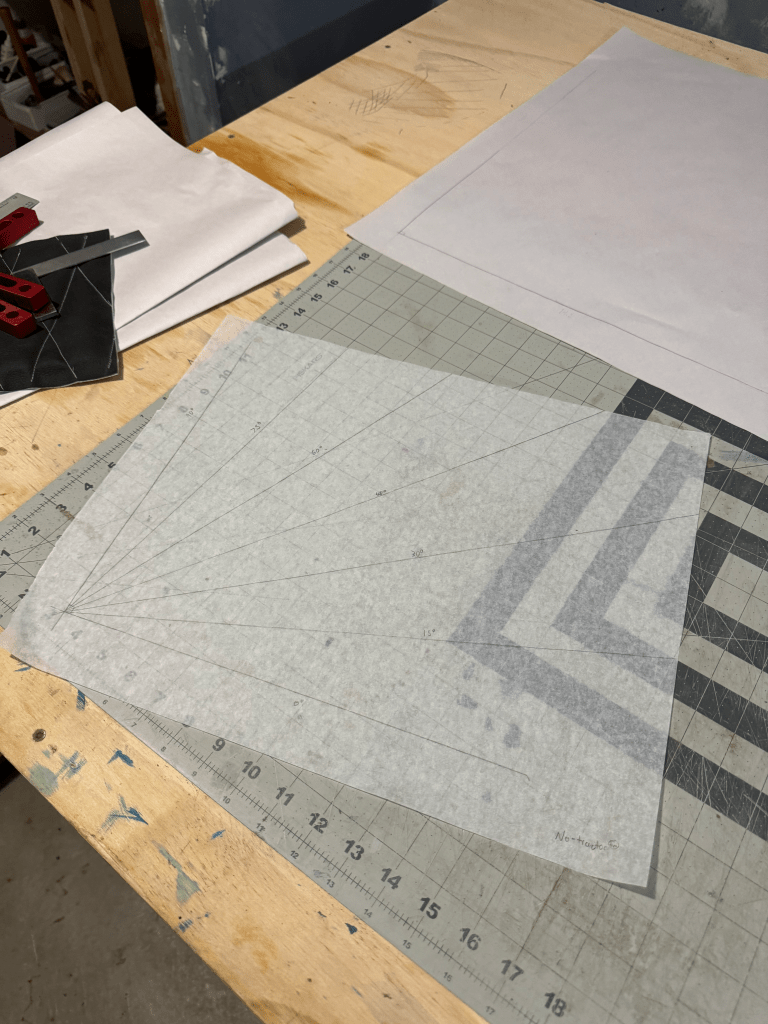
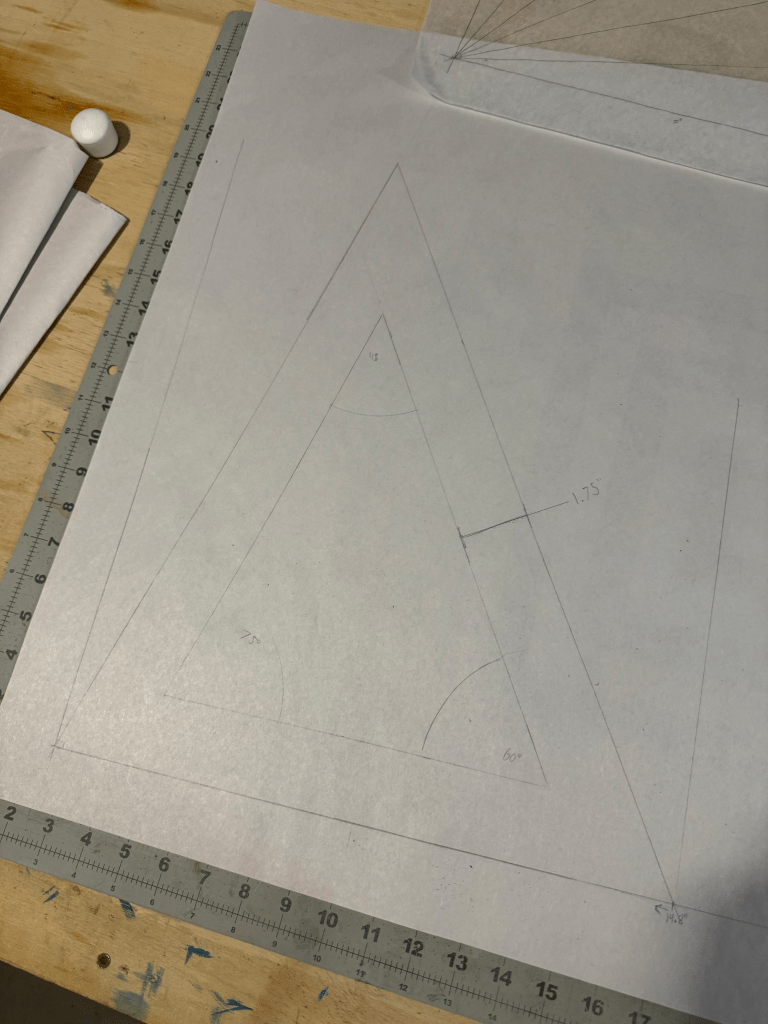
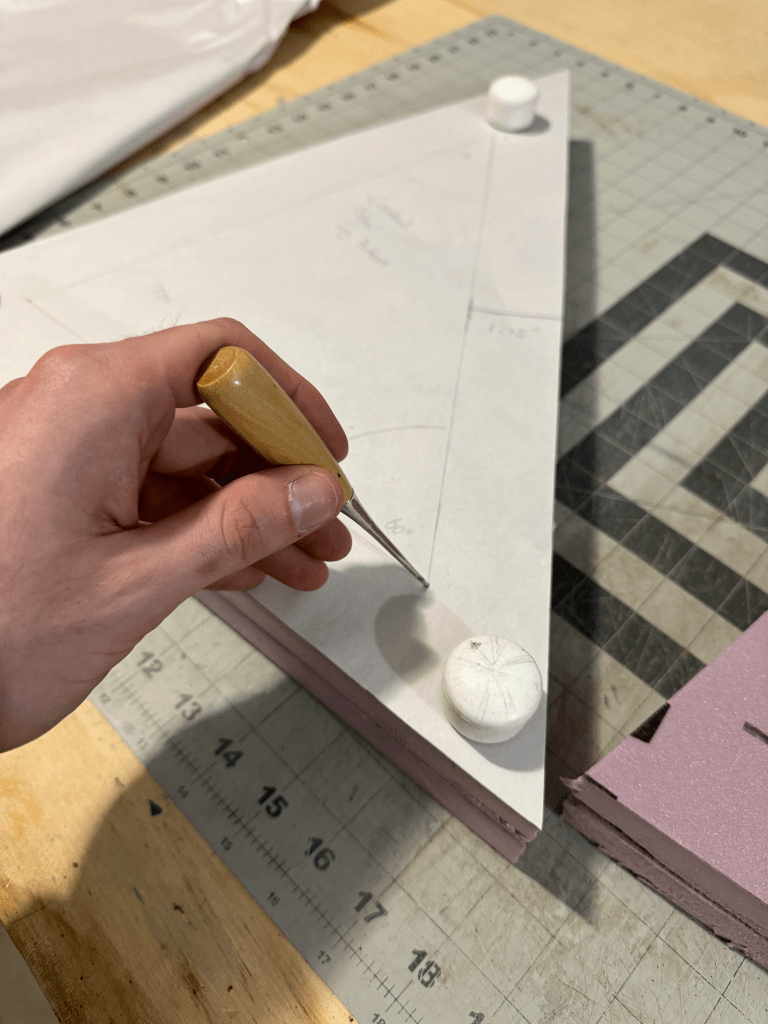

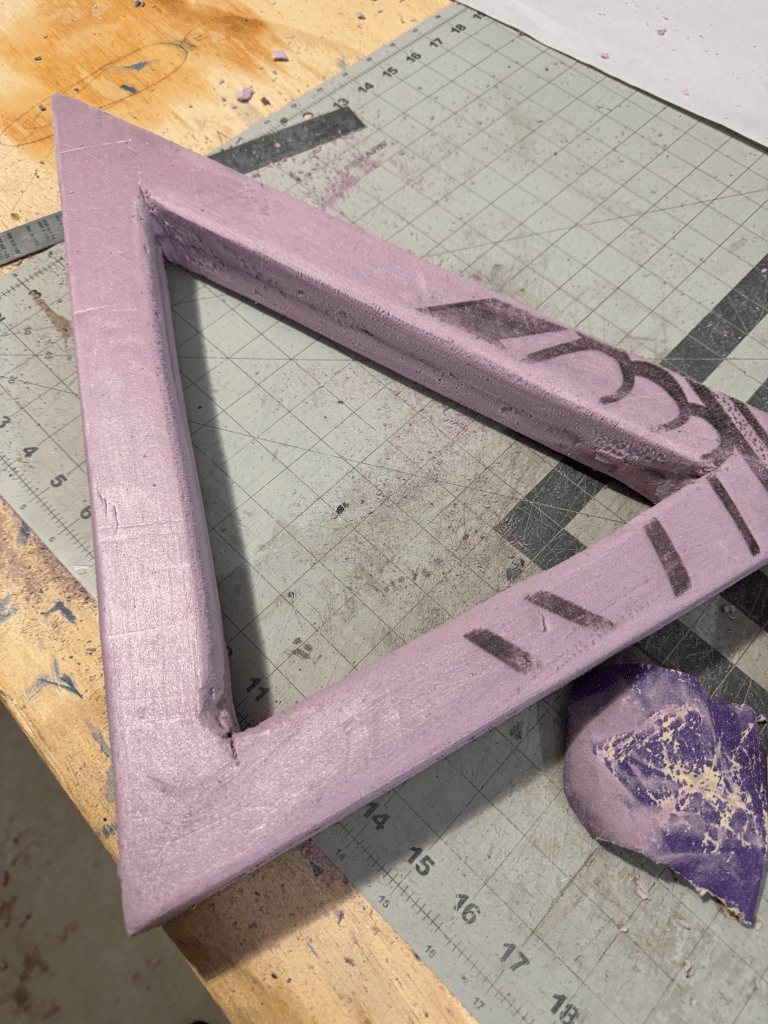
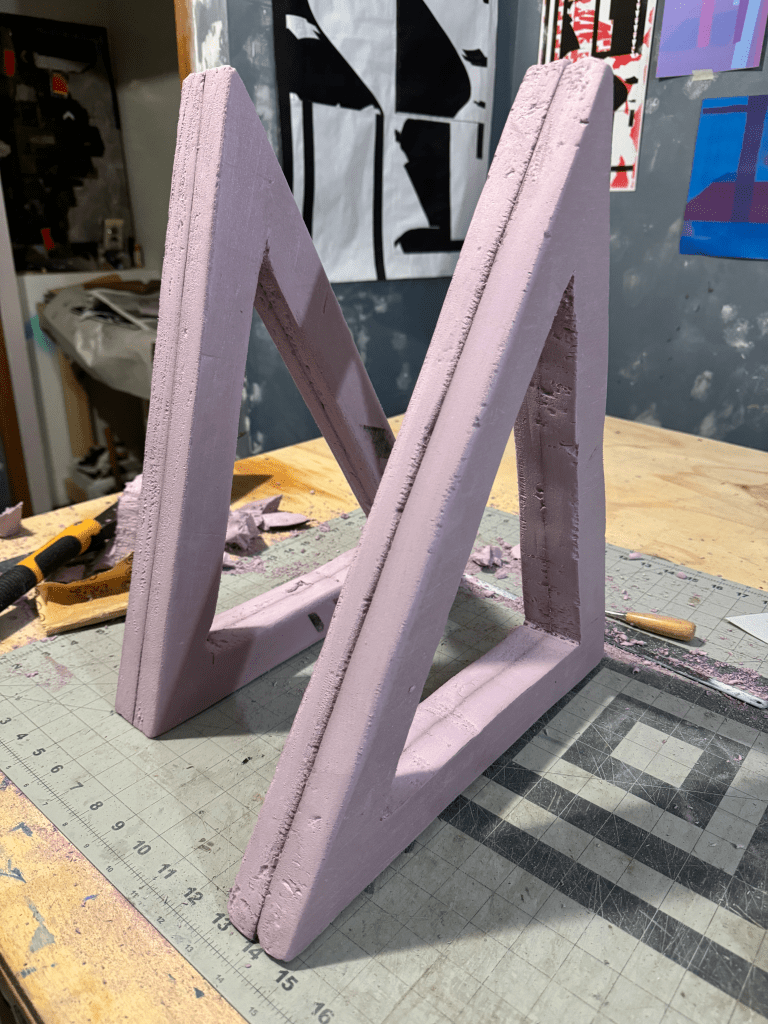
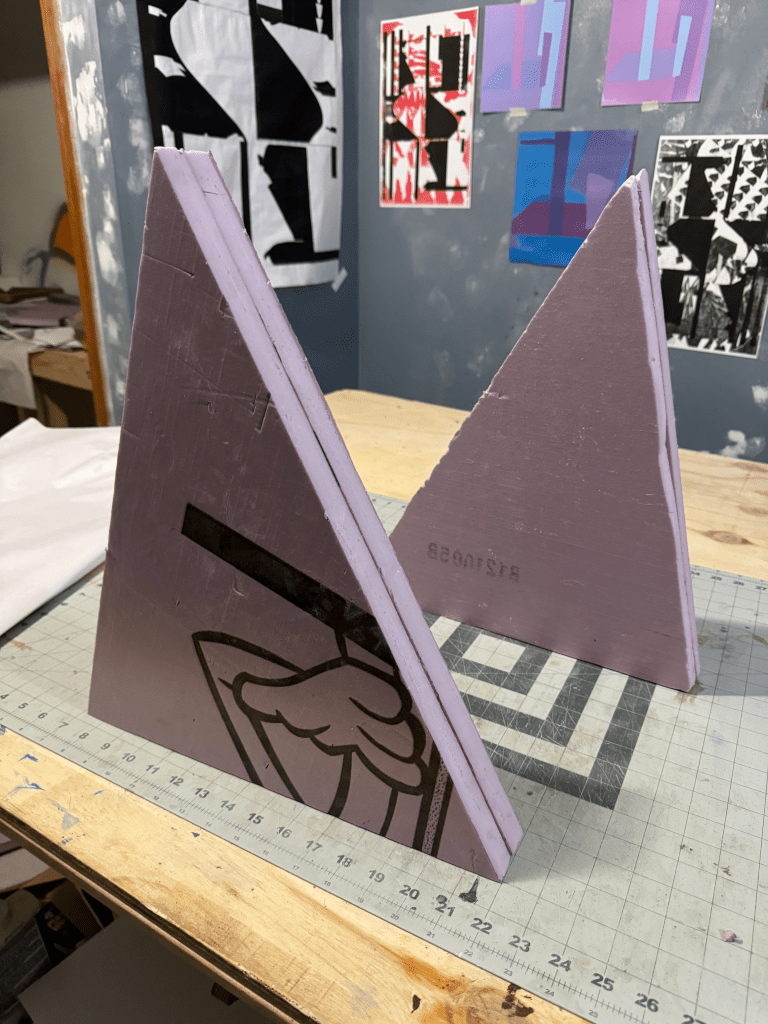
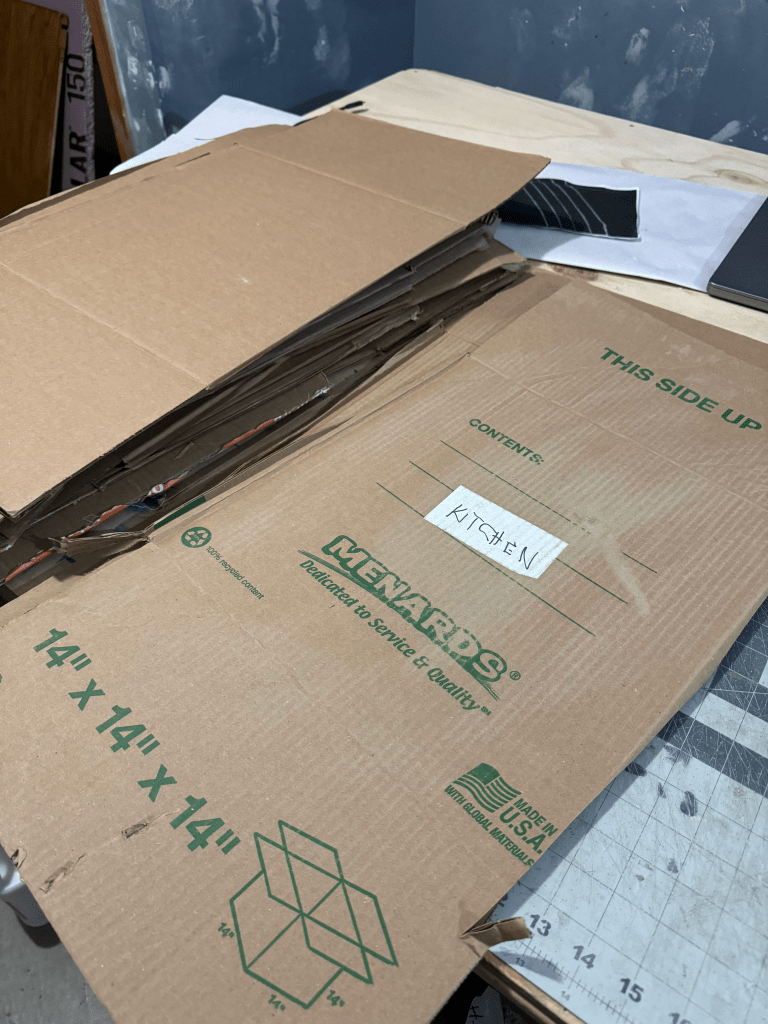
To begin the physical prototyping, I began by gathering materials. I laminated cardboard sheets together with glue up to the thickness of plywood (1/2″). I then mitered those ‘boards’ and cut them to the length of my seat. I created a pattern for the legs and cut them out of foam. The base would also be made of laminated wood, so this process mimicked the final construction technique.
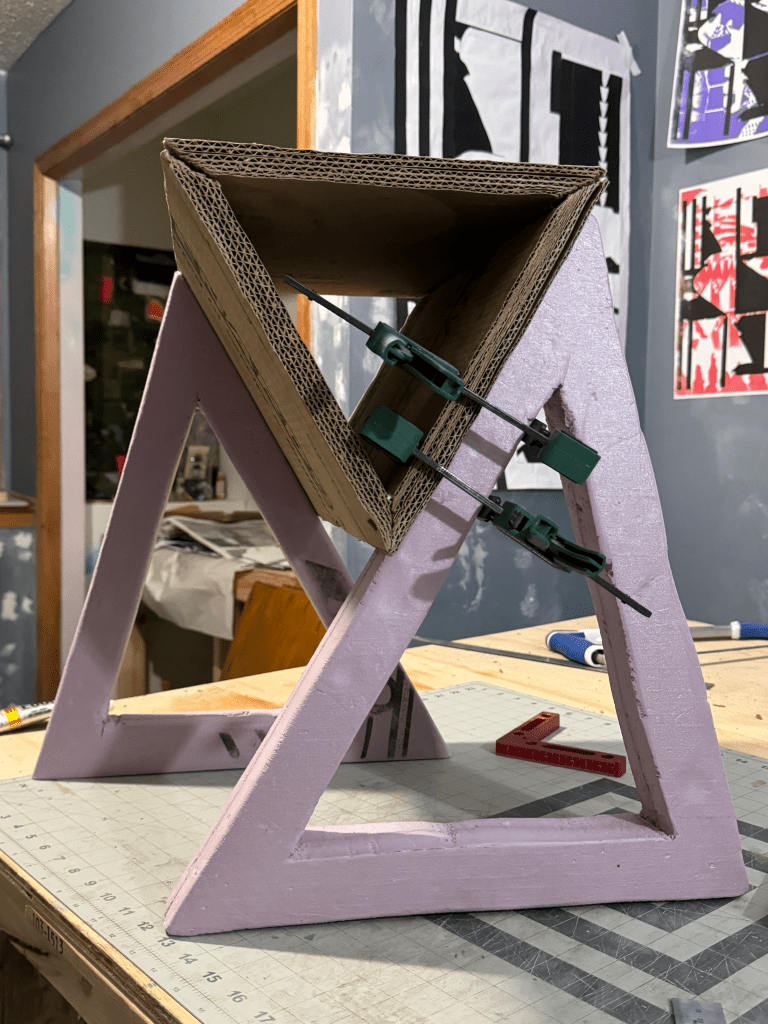
Above is a mockup of the mitered cardboard and foam legs.
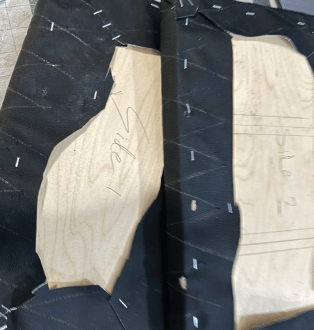
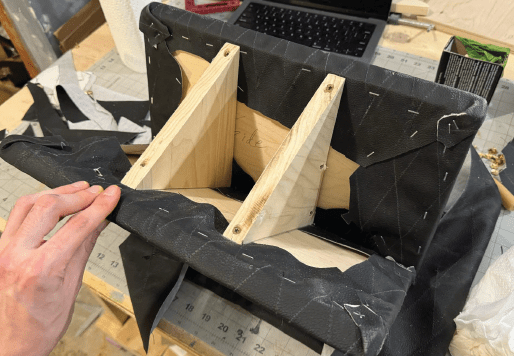
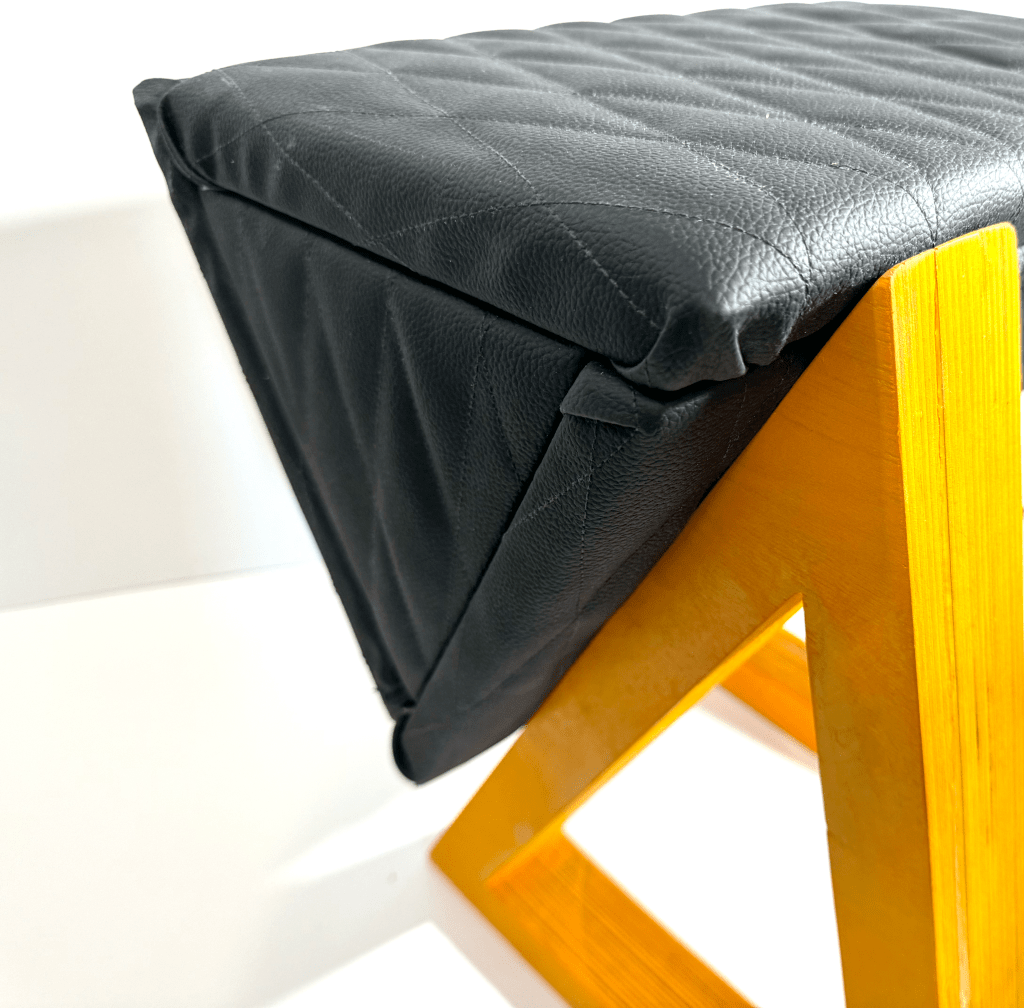
After I had a proof of concept, I began to fabricate a prototype out of nicer materials. I purchased some upholstery vinyl from Rochford Supply and got to work diamond quilting it.
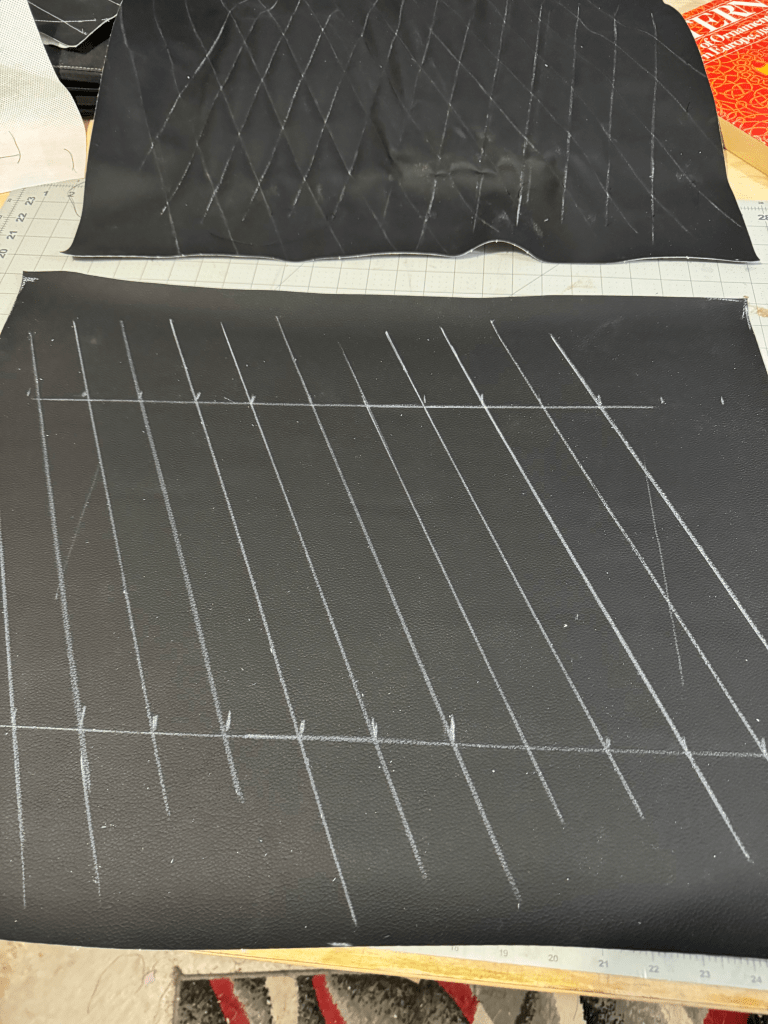
The quilting process is relatively straightforward. Lines are marked out, cotton batting is glued to the upholstery material, and then a backing is glued to the batting. Then comes the tedious work of sewing all of the lines in.

Quilting detail
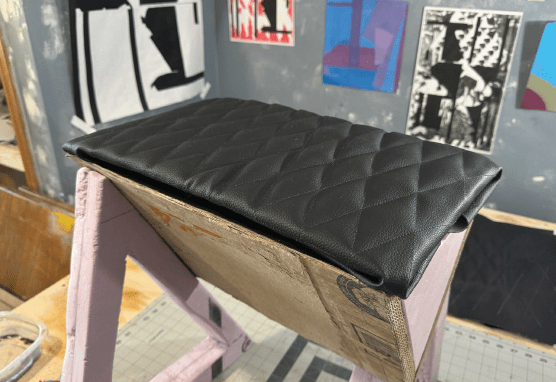
Test fit of upholstered panel
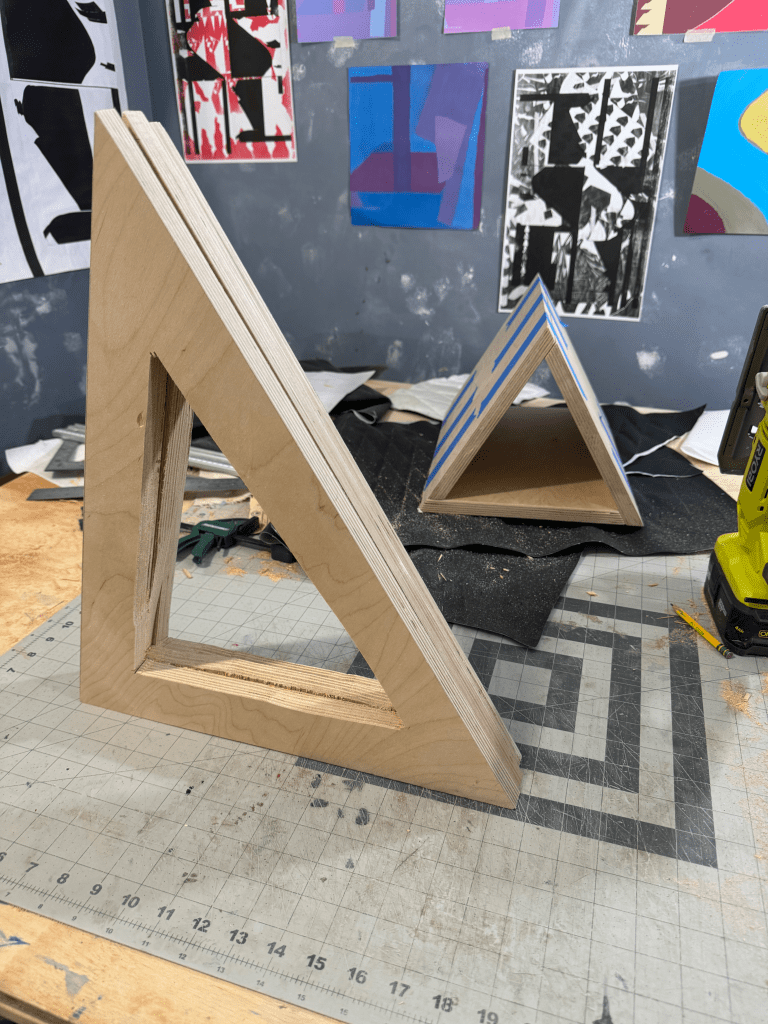
The legs were then roughly cut and glued together. After that, the table saw cleaned up the rough edges. The boards for the seat were also cut, visible on the right. Those boards were covered with foam and upholstered with staples.
Staple upholstery
Above: Left leg smooth, right leg rough.
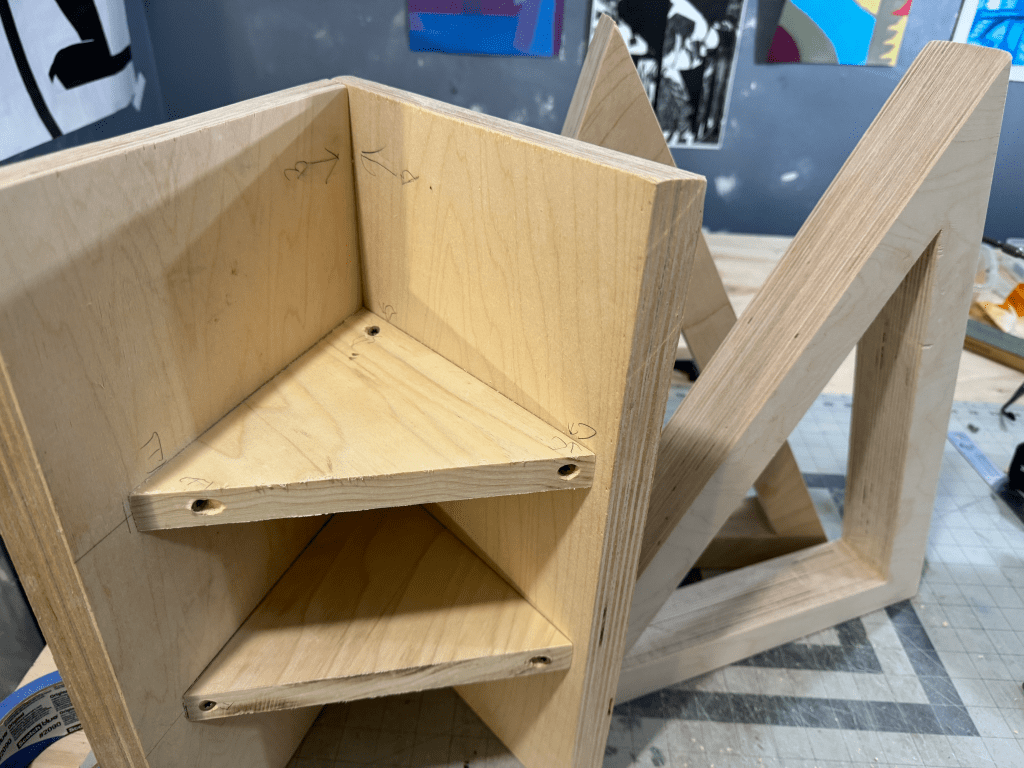
After a test fit, the remaining seat panels are upholstered and fastened together with screws and an inner brace.
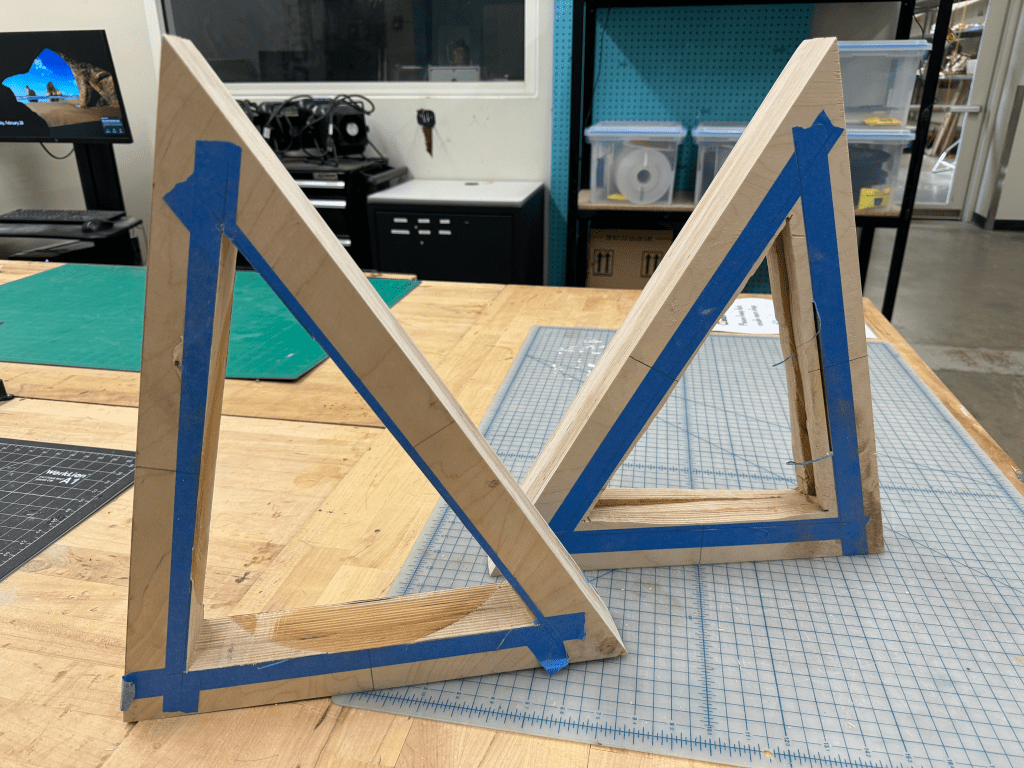
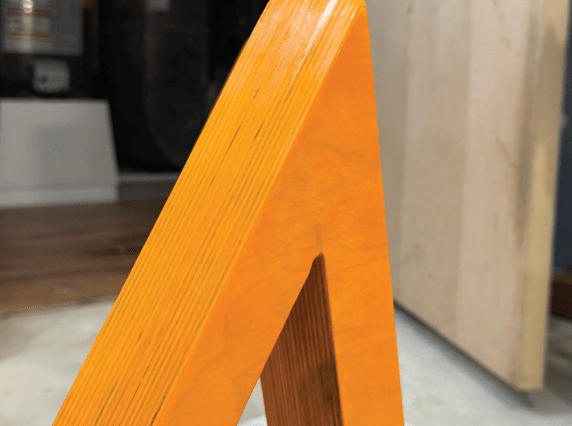
Finally, the legs are dyed and clearcoated.

After drying, a couple of reinforcements are added inside the seat. To attach the seat to the legs, screws are driven from inside the seat cavity into the legs. The top panel is then epoxied on, hiding all fasteners.
Result
Reflection
As one of my earliest projects at MCAD, I learned a great deal from this project. It was one of the first experiences I had on a sewing machine, so I enjoyed learning how to operate and troubleshoot one. Thinking about hiding fasteners guided the assembly of this project after it got rolling. To this day, I am still satisfied with the cleanliness of the assembly (at least when viewed from the outside). For a prototype designed for sitting and visual critique, it did great. The screws have worked a little loose in the legs over the years since I built it, and a little play was present after some stress testing on first assembly. I would change the fastening hardware in the future. The stool does remain usable, and it has a home in my studio now.
